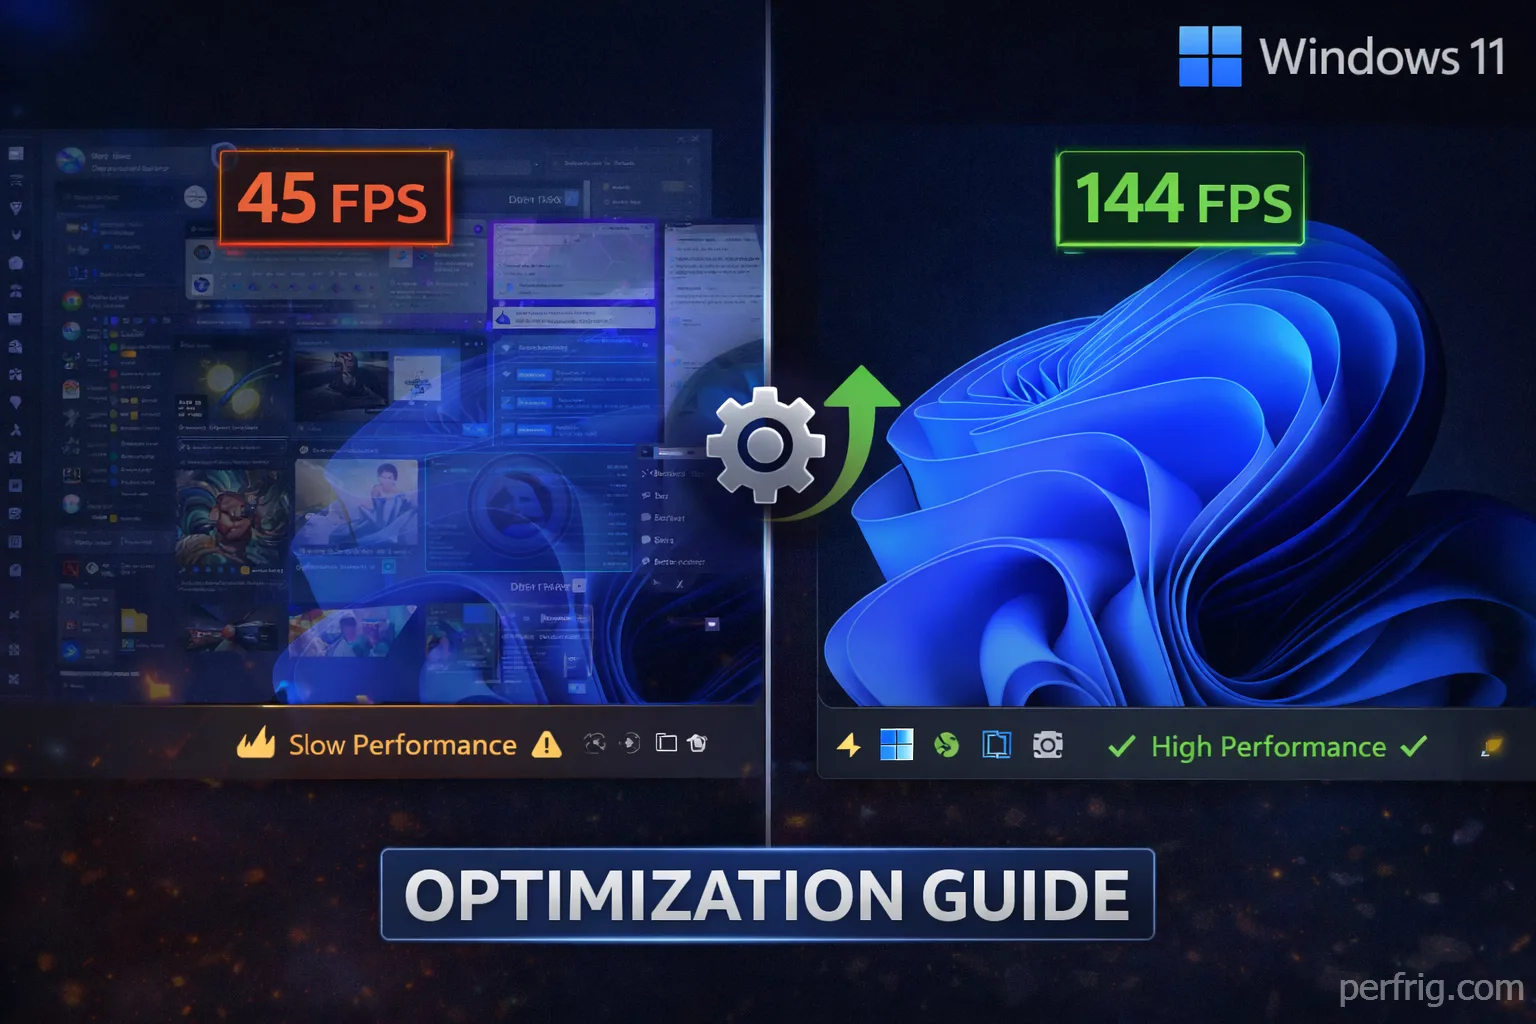
Windows 11 and gaming—it’s complicated. The defaults are honestly pretty terrible for performance because Microsoft optimized the OS for general use and productivity not squeezing every last frame out of your games. But here’s the thing, with the right tweaks you can transform Windows 11 into a lean gaming machine.
This guide covers the essentials for getting better performance without breaking anything or spending hours in obscure settings menus. We’re talking real improvements here not placebo tweaks that make zero differance.
Update everything first (seriously)
Before messing with settings make sure Windows 11 is fully updated. Yeah I know updates can be annoying but they often include performance improvements and GPU driver support. Go to Settings > Windows Update and install everything available.
Your GPU drivers need updating too—this is huge for gaming performance. NVIDIA and AMD release game-ready drivers regularly that can boost FPS significantly in new titles. Use GeForce Experience for NVIDIA cards or AMD Software for Radeon GPUs. Don’t rely on Windows Update for GPU drivers because they’re usually months behind.
Disable visual effects (the easy wins)
Windows 11 has animations and transparency effects everywhere which look nice but tank performance. These visual flourishes use GPU resources that should go to your games instead.
Go to Settings > System > About > Advanced system settings. Under Performance click Settings then select “Adjust for best performance” which nukes everything. Or choose “Custom” and disable animations, shadows and transparency while keeping font smoothing because gaming on blurry text is miserable.
The transparency effects in Windows 11 are particularly heavy. You can disable them separately in Settings > Personalization > Colors by turning off transparency effects. Your system will feel snappier immediately honestly.

Game Mode and hardware acceleration
Windows 11’s Game Mode is supposed to prioritize gaming performance but results are mixed. Generally it helps by preventing Windows Update from interrupting and reducing background activity during gameplay. Enable it in Settings > Gaming > Game Mode.
Hardware-accelerated GPU scheduling is another setting worth enabling. It lets your GPU manage its own memory which can reduce latency and improve frame times. Find it in Settings > System > Display > Graphics > Change default graphics settings. Turn on both hardware-accelerated GPU scheduling and optimizations for windowed games.
Some systems see bigger improvements than others—it depends on your hardware combination and the games you play. Testing shows modest gains of 3-5% on average but every frame counts right.
Power settings optimization
Windows 11 defaults to “Balanced” power plan which throttles performance to save energy. For gaming you want maximum performance all the time—electricity bills be damned.
Open Control Panel (yeah it still exists) and go to Power Options. Select “High performance” or “Ultimate performance” if available. Ultimate performance is hidden by default so you might need to enable it through Command Prompt first using this command as administrator:
powercfg -duplicatescheme e9a42b02-d5df-448d-aa00-03f14749eb61
This keeps your CPU running at full speed instead of ramping up and down constantly which eliminates micro-stuttering in games. The power draw increases but the performance improvement is worth it for desktop systems.
For laptops this gets tricky because battery life tanks with high performance settings. Consider creating a custom power plan that maxes performance when plugged in but switches to balanced on battery.

Background apps and startup programs
Windows 11 loves running stuff in the background that you probably don’t need. Every background process uses system resources that could go to your games instead.
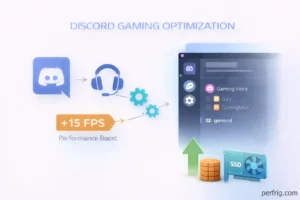
Open Task Manager (Ctrl+Shift+Esc) and check the Startup tab. Disable everything except essential programs like GPU software and maybe your antivirus. Things like Spotify, Discord and other apps can be launched manually when needed instead of eating resources 24/7.
The Xbox Game Bar has useful features but also causes performance issues in some games. If you don’t use it disable it in Settings > Gaming > Xbox Game Bar. Same goes for the Captures feature which records gameplay in the background.
Background apps in Windows 11 can be controlled in Settings > Apps > Apps & features. Click on individual apps and prevent them from running in the background unless they’re actually necessary.

Storage and memory optimization
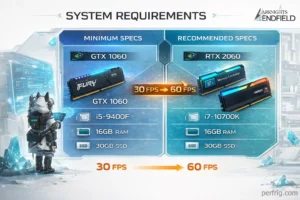
If you’re still using a hard drive for games in 2025—stop. SSDs are cheap now and the loading time improvement is massive. Windows 11 runs better on SSDs too with faster boot times and snappier system responsiveness.
For RAM make sure XMP or DOCP is enabled in BIOS so your memory runs at its rated speed instead of the default 2133 MHz. This can improve FPS significantly especially in CPU-intensive games. The performance difference between 2133 MHz and 3600 MHz RAM is genuinly noticeable.
Windows 11 has a memory integrity feature that sounds important but actually hurts gaming performance. It’s part of Core Isolation and causes overhead that reduces FPS. Disable it in Settings > Privacy & security > Windows Security > Device security > Core isolation details. Turn off memory integrity and restart.
Superfetch (now called SysMain) is another feature that might hurt more than help on modern systems with SSDs. Open Services (search for it in Start menu), find SysMain and set it to disabled. This prevents Windows from preloading applications you might use which makes sense on HDDs but wastes resources on SSDs.
Network optimization for online gaming
High ping and packet loss ruin online gaming even with great FPS. Windows 11 has network settings that can be optimized for gaming performance and lower latency.
Disable network throttling which limits bandwidth for background downloads. Open Command Prompt as administrator and run:
netsh int tcp set global autotuninglevel=normal
Also disable the delivery optimization feature that uses your bandwidth to share Windows updates with other PCs on the internet. Go to Settings > Windows Update > Advanced options > Delivery Optimization and turn it off completely.
For WiFi gaming (not ideal but sometimes necessary) make sure your network adapter isn’t using power saving mode. Open Device Manager, find your network adapter under Network adapters, go to Properties > Power Management and uncheck “Allow the computer to turn off this device to save power.”
GPU specific optimizations
We covered NVIDIA and AMD control panel settings in other guides but there are Windows-level GPU tweaks too. Make sure your games are using the dedicated GPU not integrated graphics—Windows 11 sometimes gets this wrong.
Go to Settings > System > Display > Graphics. Add your games manually and set them to “High performance” GPU. This forces Windows to use your dedicated graphics card instead of the integrated one which would be a disaster for performance.
The Windows Graphics Settings page also has an option for variable refresh rate (VRR) which should be enabled if you have a compatible monitor. This eliminates screen tearing without the input lag of V-sync.
Monitor and display settings
Running games at your monitor’s native resolution and refresh rate seems obvious but Windows 11 doesn’t always configure this correctly especially with multiple monitors.
Right-click desktop > Display settings and verify your main gaming monitor is set to its maximum refresh rate. If you have a 144Hz monitor but it’s running at 60Hz in Windows you won’t get those high framerates in games even if your GPU can handle it.
HDR can cause issues in some games even when it looks great in others. If you’re experiencing washed out colors or performance problems try disabling HDR in display settings and enable it per-game instead through game settings.
Registry tweaks (use caution)
Registry edits can improve performance but they also risk breaking things if done wrong. Backup your registry before making any changes by exporting it from Registry Editor.
One useful tweak is disabling fullscreen optimizations globally. Create a new DWORD value in:
HKEY_CURRENT_USER\System\GameConfigStore
Name it “GameDVR_DXGIHonorFSEWindowsCompatible” and set value to 0. This prevents Windows from interfering with fullscreen games which can improve performance and reduce stuttering.
Another registry tweak disables the HPET (High Precision Event Timer) which some claim improves gaming performance though results vary. In Command Prompt as administrator run:
bcdedit /deletevalue useplatformclock
Restart your system after this change. Some users report lower latency and better frame times while others see no difference—it’s hardware dependent.
Antivirus and Windows Security
Windows Defender is decent protection but scans and real-time monitoring impact gaming performance. You can’t disable Defender completely anymore (Microsoft locked it down) but you can add game folders to exclusions.
Open Windows Security > Virus & threat protection > Manage settings > Exclusions. Add your game installation folders so Defender isn’t constantly scanning files while you’re playing. This reduces CPU overhead during gaming sessions.
If you use third-party antivirus software make sure it has a gaming mode that reduces scanning activity during gameplay. Most modern antivirus programs include this feature now because they recognize the performance impact.
What improvements to expect
After applying these optimizations testing shows typical improvements of 15-25% in average FPS depending on your system and the specific bottlenecks you had. Frame time consistency improves even more noticeably with reduced stuttering and smoother gameplay.
CPU-heavy games benefit most from these tweaks especially the power settings and background app reductions. GPU-heavy games see smaller improvements but better frame pacing and lower latency which matters for competitive gaming.
Systems with lower-end hardware (older CPUs, less RAM) typically see bigger percentage gains than high-end systems that were already performing well. Every little bit helps though and these optimizations cost nothing but time.

Common issues after optimization
If games start crashing or behaving strangely after these changes you probably disabled something they actually need. The most common culprit is memory integrity—some games with anti-cheat software require it enabled.
Performance getting worse instead of better usually means a registry tweak didn’t work well with your hardware. Revert the registry changes and see if performance improves. Not every optimization works for every system configuration which is annoying but that’s PC gaming.
Some online games have issues when Game Bar and DVR are disabled because their overlay features conflict. You might need to re-enable them for specific titles even though they reduce performance slightly.
Maintaining optimizations
Windows 11 updates sometimes reset settings back to defaults which is incredibly frustrating. After major feature updates check your power plan, Game Mode settings and GPU configurations to make sure they’re still optimized.
Keep GPU drivers updated but be cautious with beta drivers which can be unstable. Stick to the official game-ready driver releases unless you’re troubleshooting specific issues.
Run Disk Cleanup monthly to remove temporary files and system cache that accumulates over time. Enable Storage Sense in Settings > System > Storage to automate this process so junk files don’t pile up and slow things down.
The realistic approach
You don’t need to apply every single tweak here to see improvements. Start with the big ones—disable visual effects, enable high performance power plan, update GPU drivers and close background apps. Those four changes alone will give you most of the performance gains.
The registry tweaks and advanced optimizations are for enthusiasts who want to squeeze every last frame. For most people the basic optimizations are enough to transform Windows 11 into a capable gaming OS.
Gaming on Windows 11 doesn’t have to be a compromise between visual polish and performance. With some configuration it handles games just as well as Windows 10 did and sometimes better thanks to features like DirectStorage and Auto HDR when they actually work properly.
Just remember that optimization is ongoing not one-and-done. Windows updates, driver updates and new games all require occasional adjustments to maintain peak performance. But once you’ve done the initial setup it’s pretty low maintenance honestly.