
HDR can genuinely transform how games look, or it can make everything washed out and dim. Here is how to get it right.
Here’s the thing most people miss: HDR in Windows 11 is not a single toggle. It is a layered system where the OS setting, the game setting, and your monitor’s panel all interact, and getting one of them wrong usually means the other two stop working properly. The result is that a lot of people try HDR, see something that looks worse than SDR, and turn it off for good, which is honestly a shame because a well-calibrated HDR setup is one of the more noticeable visual improvements you can make without spending anything.
This guide walks through each layer in order so you end up with HDR that actually looks the way it is supposed to.
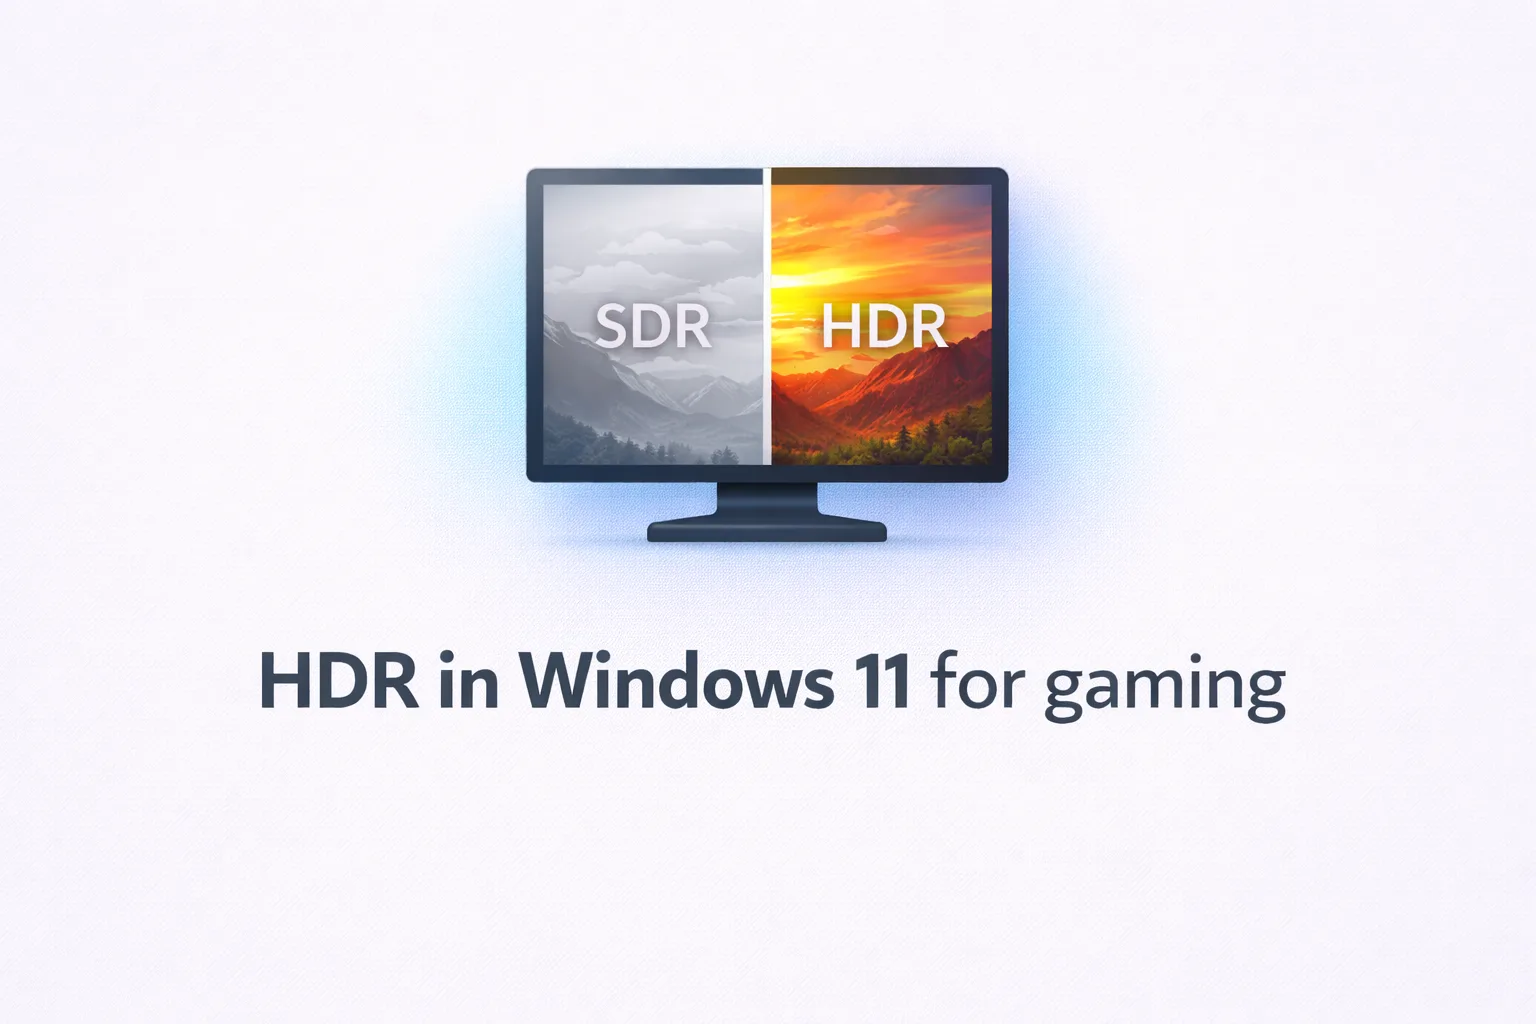
HDR vs SDR: what actually changes
Basically, what’s happening under the hood is that standard dynamic range (SDR) content lives within a fixed brightness ceiling of around 80 to 100 nits. High dynamic range expands that ceiling dramatically, with capable monitors reaching 400, 600, or even 1000 nits in peak brightness zones. The practical effect is that bright areas like sunlight through windows, explosions, or specular highlights can reach levels that SDR simply cannot reproduce, while shadow detail in dark areas becomes more visible simultaneously.
The important nuance is that this only works if your monitor actually supports HDR at a meaningful level. A display certified at DisplayHDR 400 delivers limited results compared to a proper OLED or a monitor with local dimming zones. On a basic HDR 400 panel, enabling HDR sometimes makes SDR content look slightly worse without delivering a compelling upgrade in HDR content. That is the reality of entry-level HDR hardware, and it is worth understanding before spending time on calibration.
If your monitor is a genuine HDR panel with at least DisplayHDR 600 certification, local dimming, or an OLED panel, the difference in well-implemented HDR games is genuinly impressive.
Windows HDR calibration: step by step
Open Settings, go to System, then Display. If your monitor supports HDR, you will see an HDR option. Enable it, then open the Windows HDR Calibration app, which ships with Windows 11 and is also available free from the Microsoft Store.
The calibration app walks you through a series of brightness adjustment steps. The key is to do this calibration in the lighting conditions you actually game in. Calibrating in a bright room and then gaming in a dark room means the results will be off.
The brightness slider in the calibration app controls how Windows tone-maps SDR content when HDR is active. This matters because when HDR mode is enabled in Windows, your desktop, browser, and any SDR application all get tone-mapped to fit within the HDR signal. If this is miscalibrated, your desktop looks dim or blown out. Getting this slider right is the differance between HDR mode that is usable all the time and one that you toggle only for gaming.
After calibration, go back to Display settings and check the SDR content brightness slider. This is separate from the HDR calibration and controls how bright SDR applications appear when HDR is active. Most monitors need this pushed higher than the default to match what SDR content looks like with HDR disabled.
Auto HDR deserves a mention here. Windows 11 includes a feature that automaticaly applies HDR processing to SDR games using an AI-based tone mapping pipeline. For older games that were never designed for HDR, Auto HDR can produce surprisingly good results. Enable it in the same HDR settings section. It adds a noticeable improvement in games like The Witcher 3 or older Halo titles without requiring any game-side configuration.
Game-specific HDR settings
Most modern games with native HDR support include their own in-game calibration. These typically present a series of brightness test patterns and ask you to adjust until certain elements are barely visible. Follow these carefully and do not skip them, because a game’s internal HDR calibration is separate from the Windows-level calibration you completed earlier.
The most common mistake here is setting in-game HDR brightness too high. The test patterns are asking for the minimum visible threshold, not a comfortable brightness level. When in doubt, go lower. Overexposed HDR is more visually distracting than slightly underexposed HDR.
Games with strong HDR implementations worth using as reference points: Cyberpunk 2077, Microsoft Flight Simulator, Returnal, and Horizon Forbidden West all have well-regarded HDR modes that showcase what the technology can do when implemented properly.
When HDR hurts more than helps
There are real cases where disabling HDR produces better results. Competitive multiplayer games often benefit from SDR because HDR can reduce perceived contrast in ways that make enemies harder to spot against certain backgrounds. In Counter-Strike 2 or Valorant, the visual consistency of SDR is often preferable to the high-contrast processing of HDR.
Dark UI-heavy games where you spend significant time in menus also tend to look better in SDR, because HDR tone mapping can make static UI elements appear slightly different each time you look at them as the display adjusts brightness dynamically.
And look, I know this sounds like a lot of conditions to manage, but the practical approach is simple: enable HDR for single-player games and cinematic experiences, disable it for competitive play. Windows 11 makes this reasonably quick to toggle from the action center in the taskbar.
Getting the most from what you have
HDR is genuinely one of the more impactful visual improvements available through software settings alone, provided the hardware is capable of delivering it meaningfully. A well-calibrated setup with a proper HDR monitor and correctly configured Windows and game settings will look noticeably better than the same content in SDR.
The setup process takes about 20 minutes the first time. After that, it is just the habit of knowing when to toggle it on and off based on what you are playing. For single-player games on a capable display, it is worth every minute.


Join the Discussion